Make a Paper Crab Loop with a Free UGC Video Generator, No Signup Required

A red paper claw pokes out from under a folded shelter. The rest of the crab slides into view, then retreats, claws still pointing the same way. If it jerks just before the next peek, you can often fix that last inch in the edit. Make one outward slide, then play the same movement backward to get the return.
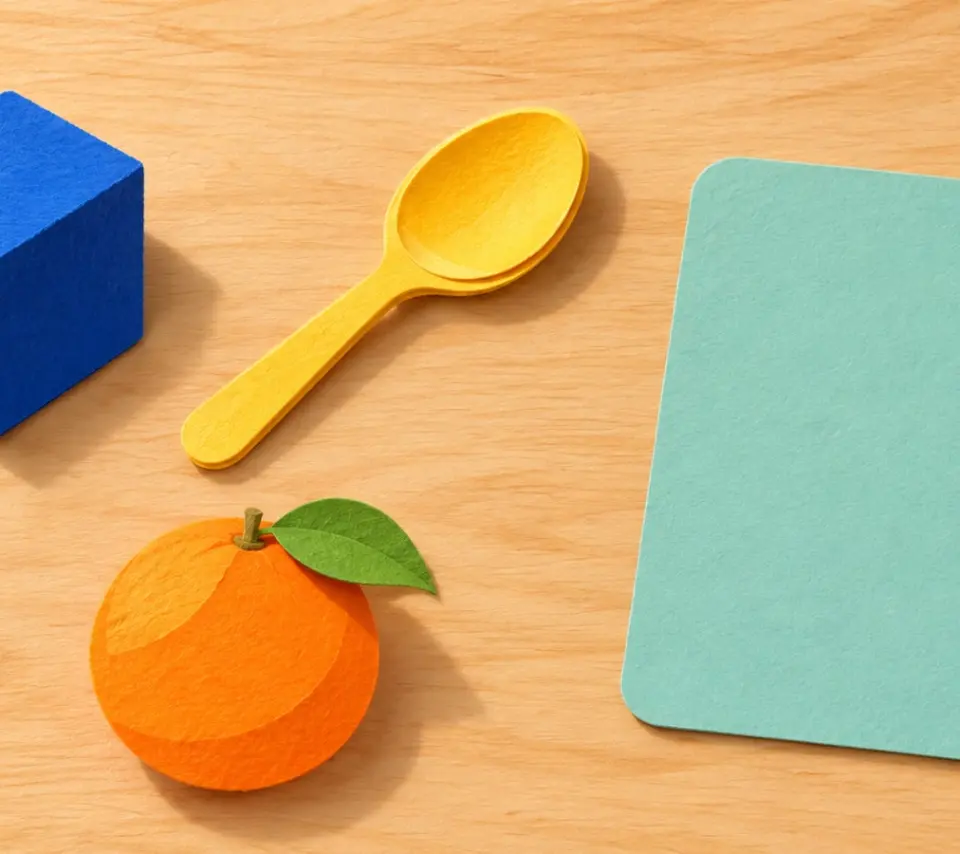
The three AI-made illustrations show positions to aim for on a paper set. Use the first two as practice inputs or photograph your own pair with a real paper cutout.
Set up two pictures where only the crab moves
For the first picture, tuck part of a flat red paper crab under a folded cardstock shelter. Leave enough red showing to recognize it, and plenty of open floor on the right. Prop up your phone or camera so you can take both photos without touching the setup.
Start with the crab peeking out. Leave enough room for the whole cutout to slide clear.
Slide the same cutout to the right until it clears the shelter. Keep the cutout flat and facing the same way. Use the same crop for both pictures. A pebble or a corner of the shelter makes a good alignment mark: flick between your photos and see whether that spot moves. If it does, reset the camera or take the pair again before animating.
End with the crab in the open. On your own set, move the cutout and leave the shelter and camera in place.
Try a single outward slide
UGC Maker AI is one option for animating the crab’s outward slide. Its website describes the free no-signup tool as powered by MiniMax H3 and advertises “unlimited” on the dedicated H3 page. When you write your own prompts, describe one movement you could make by hand.
Select 16:9 for a wide set like this. Upload the tucked pose to Start Frame and the clear pose to End Frame. Paste the prompt, select Generate, then preview the clip and download it if the outward movement works.
Locked overhead camera on the same teal paper tabletop. A flat coral-red paper crab starts partly tucked beneath the tan folded paper shelter on the left. In one continuous movement, the whole cutout slides horizontally to the right until it is completely clear of the shelter, matching the end reference position. Keep its size, shape, orientation, eyes, claws and legs consistent. The shelter, pebbles, paper texture and lighting stay fixed. No walking, turning, camera movement, new objects, cuts or text. End on the outward pose.
Watch the shelter edge as well as the crab. If the entire set creeps, the reverse will show it creeping back. If a claw grows halfway through the slide, the return will repeat that change in reverse. Keep a continuous stretch with stable framing and a consistent crab shape. It can start a little farther out or stop a little earlier if it still reads as a peek.
Make the return from the same clean clip
In Kdenlive, import the download into the Project Bin. Open it in the Clip Monitor and drag the video-stream icon from the lower-left of the monitor to a video track so the audio stays off the timeline. Trim the beginning and end by dragging the clip edges. If you trimmed it, keep just that shot on the timeline and use Render → Full Project → Render to File to save it as a separate video. Import that file back into the Project Bin and clear the working timeline before assembling the loop. Now both halves can use exactly the same span of source frames.
- Start with just the clean outward clip at the beginning of the timeline. If you rendered a new source, drag its video onto the empty timeline.
- Right-click the clean source in the Project Bin and choose Duplicate Clip with Speed Change. Enter -100% and save the new clip. Place its video immediately after the outward clip with no gap or transition.
- Check that the first frame of the return matches the last frame of the outward slide before trimming the join. The return should end back at the same tucked pose. Keep the generated audio off both halves. For a sound version, add a quiet recording of paper sliding on a separate track and listen for a click or cut-off rustle at each join.
On the return, the claws still face the same way. The whole crab slides back along its outward path.
Check the outside turn and the restart
A simple frame sequence makes the two joins easier to spot. Imagine the outward clip shows frames A, B, C, D. The untrimmed reverse shows D, C, B, A. Put two cycles together and D plays twice at the outside turn, while A plays twice where the next cycle starts.
In the Project Monitor, use the arrow keys to step across each boundary. If those repeated frames create a hitch, trim the first D and the last A from the reverse clip, then close any gap. The example becomes A, B, C, D, C, B | A, B, C, D, C, B. Each turning pose appears once. Start with one frame at each edge and check again at normal speed. A longer hold already baked into the outward shot may need a slightly tighter source trim before making the reverse.
If you see a jump instead of a pause, check for a blank frame, a mismatch in crop or a trim that skips too far. A dip to black can come from an empty frame between clips. If the shelter jumps with the crab, check that the two halves came from the same source and use the same framing.
Export a few cycles and watch them back
Copy your final pair two more times back-to-back. In Kdenlive choose Render, select a video preset and Full Project, then click Render to File. Watch the exported file through all three cycles. The outside turn should feel like a change of direction. At the shelter, the next outward slide should pick up where the return left it.
If the generated shot never holds its shape, move a real cutout in small steps and take a photo at each step with the camera fixed. Give the pictures equal time in your editor, then repeat them in reverse order, omitting duplicate endpoint photos. The two endpoint stills can also stand on their own as a before-and-after pair. For your next object, use the same checks: keep the camera still, pick one reversible movement, and watch both joins at normal speed.